RadioDoge Demo
This demo shows the complete flow from hub setup to transaction confirmation using RadioDoge pre-release 10.0.1.
Setting Up the Hub
We set up the hub on a Windows PC in a friend's office and put the Hub dongle with a decent antenna on a shelf indoors.
Remote Node Setup
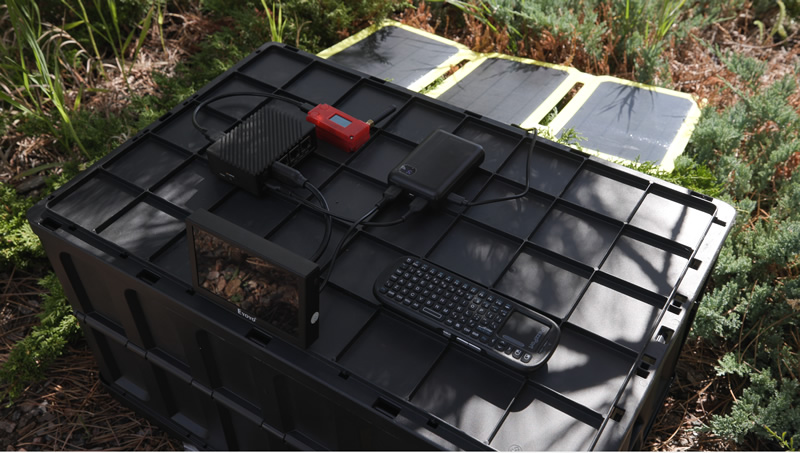
We took the Dogecoin Node setup to a park far away and placed it on top of an overturned box.
Solar Power
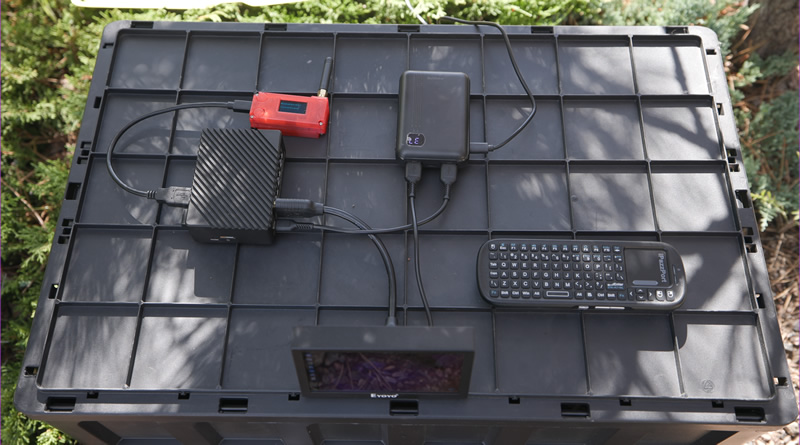
Solar panel powering the whole setup (with a USB PD battery pack charged by the solar panel), running fully disconnected.
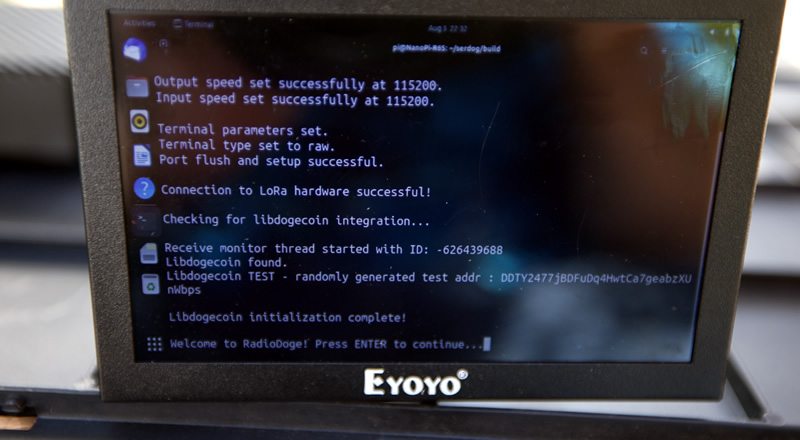
System Initialization
Starting up RadioDoge. It runs tests to ensure LibDogecoin, LoRa, and Radio are working.
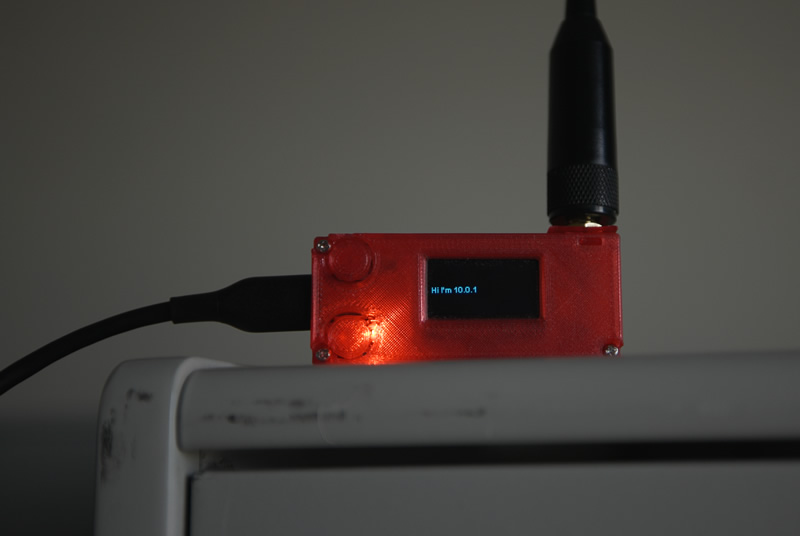
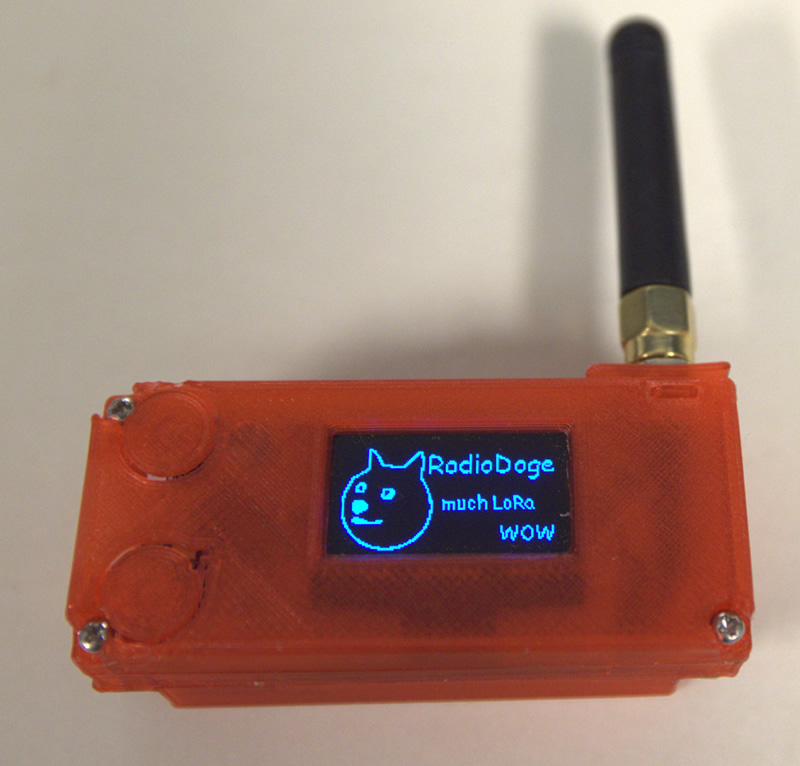
Hub Discovery
After hitting enter and waiting at the menu, a hub broadcast from the office is received and shown on the OLED of the LoRa dongle.
Hub Address Display

The terminal shows an active hub in the area at Address 10.0.1.
Selecting Source and Destination
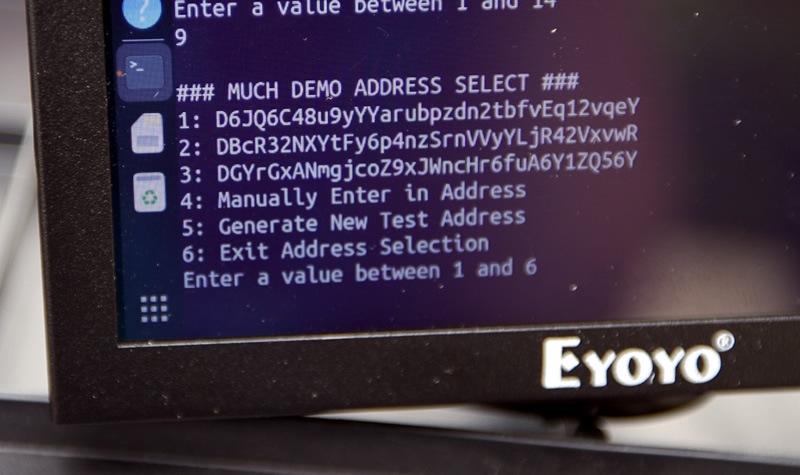
Using the address book, we choose source address "DGYr..." (entry #3) and destination "D6JQ..." (entry #1). The node forms transactions with LibDogecoin—the hub never sees the private key.
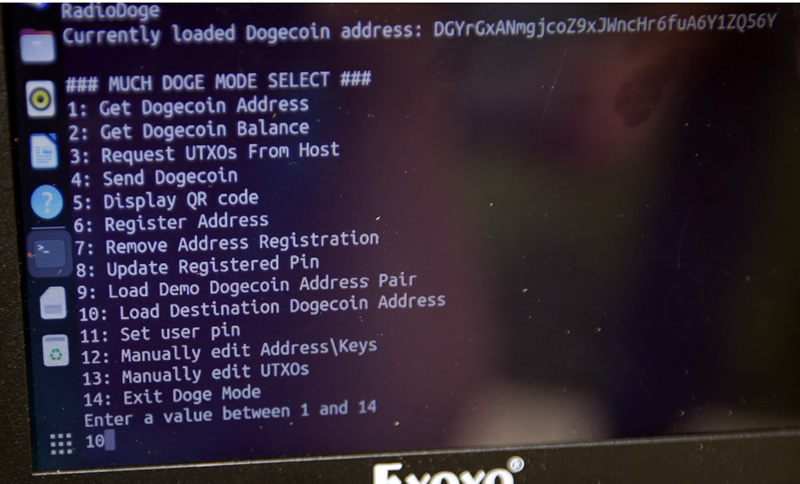
Registering with Hub & Ready to Send
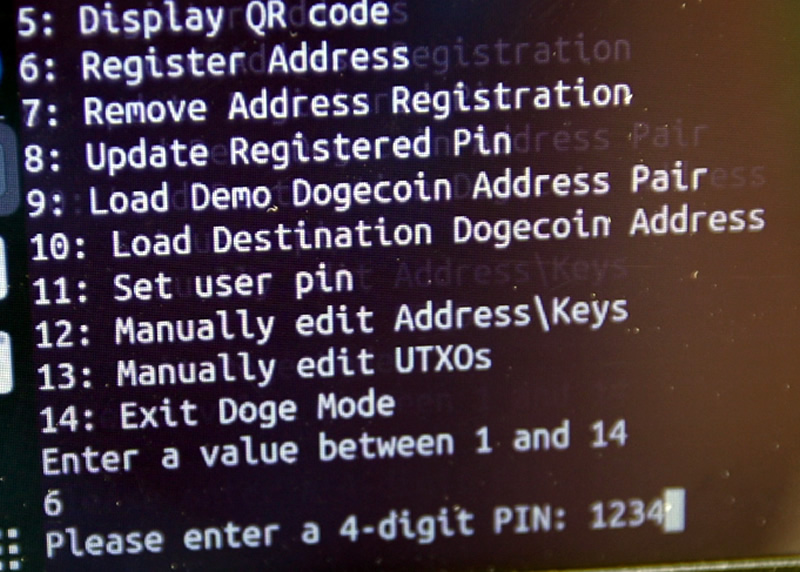
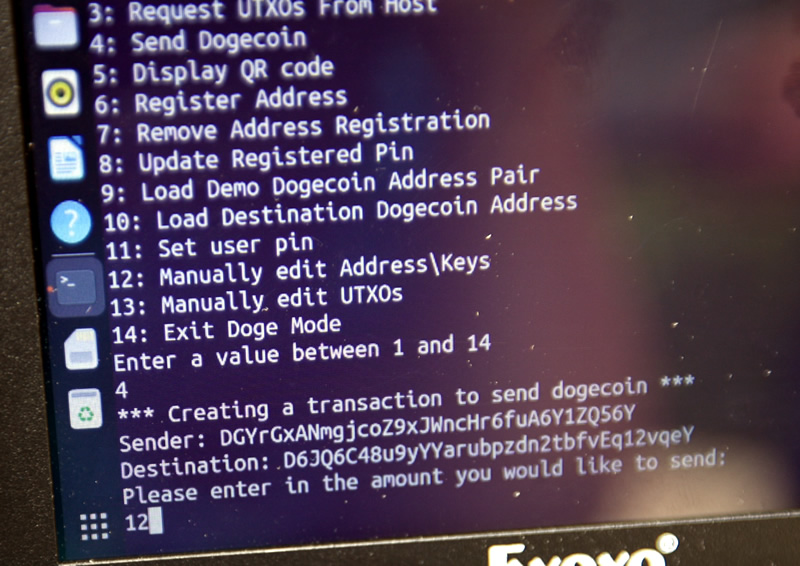
We register the node and balance address with the hub (encrypted; hub does not store private keys). Then we select "send dogecoin."
Sending Transaction
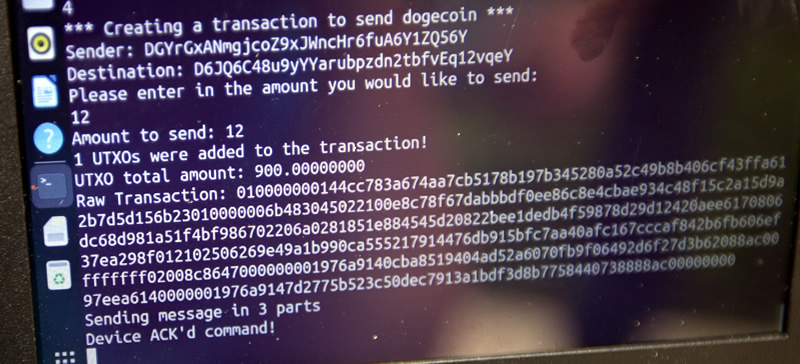
We send 12 DOGE. The raw transaction is split into burst packets with forward error correction. The hub sends an ACK when received.
Hub Processing & Confirmation
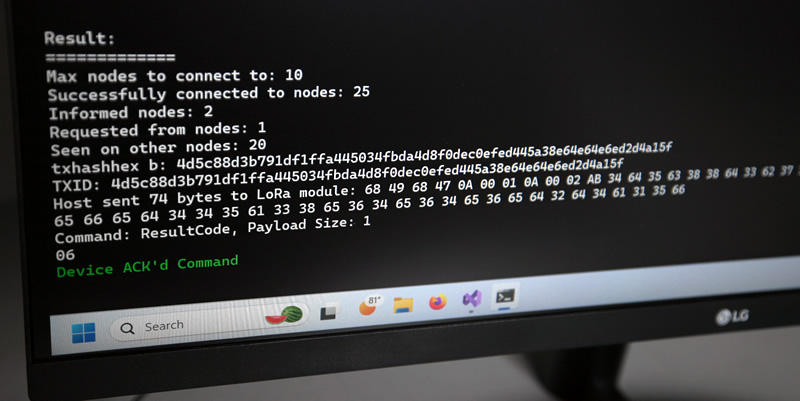
At the office: The hub (LibDogecoin SPV) transmits the transaction to the blockchain and sends a response.
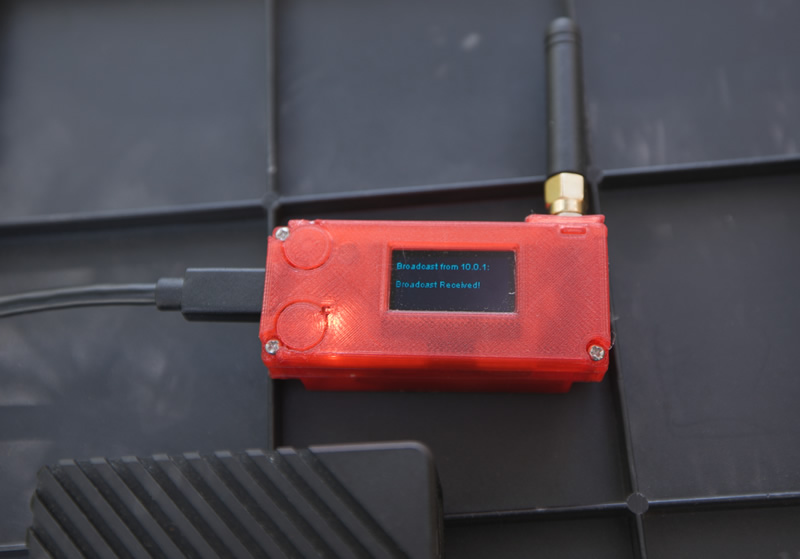
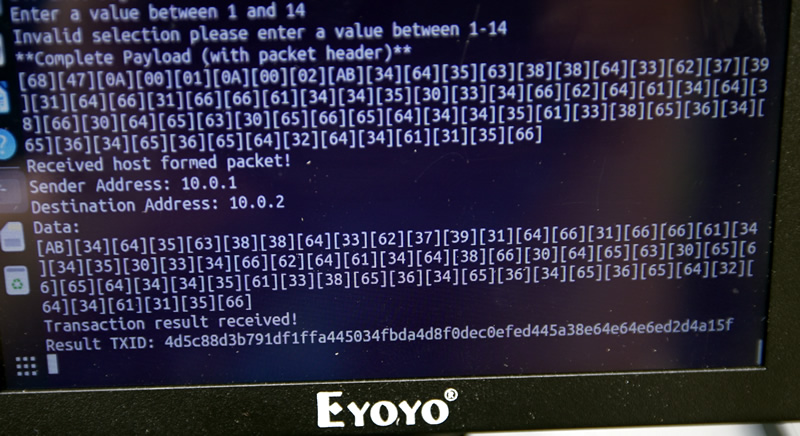
At the remote node: We receive confirmation and the TXID from 10.0.1.
Don't trust, verify! Example TX: 4d5c88d3...
Summary
This demonstration shows the complete RadioDoge transaction flow from node setup to transaction confirmation, without traditional internet infrastructure.